


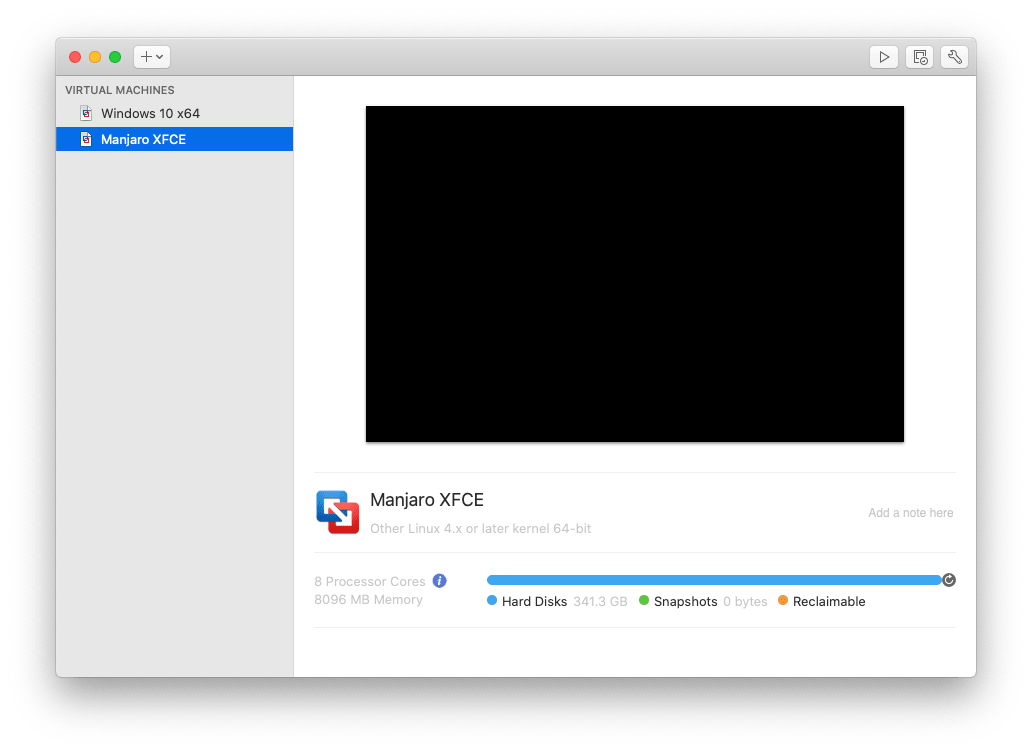
Attempting to shift my physical Manjaro install to VMWare Fusion
TL;DR: Clone partition with dd, convert to vmdk with qemu-img (splitting is optional with VBoxManage), create a new VM in Fusion, create a second virtual drive to host EFI partition, install bootloader on new EFI and change fstab with new UUID accordingly. Boot into the VM, defragment drive, zero out leftover space and request Fusion to shrink space
I like virtualisation. It isn’t the silver bullet that can remedy every possible situation but with the fine tuned ability to integrate or isolate an instance and the community that has been built around it, virtualisation proves itself to be an incredibly useful tool.
I am a filthy casual who likes to occasionally game but the bloat on Windows 10 is what drove me to macOS but alas, Catalina strikes and the few games I could play couldn’t run anymore. No Mojave downgrade for me because Xcode 11.
The solution? The tux. Marjaro XFCE (the sweet rolling releases of Arch Linux with the simplicity of Xubuntu), Steam (and therefore Proton), Lutris (and therefore Wine) seemed to be an option that was not “install Windows 10 and deal with it” or “install Windows 7” (my motherboard has no Windows 7 drivers that I can use) or “just get a copy of LTSC and reset the trial every 60 days”.
I dual-booted whenever I could to play but found not being able to switch between work and play instantaneously was a bit annoying.
The solution? VMWare Fusion with generous VRAM. But I don’t want to redo my setup or re-download my library (it took two weeks to download).
So, now I finally had a reason to image my physical ext4 partition and run it on as a guest macOS, without ever reading the files on the partition via macOS.
Things required⌗
-
A form of (preferrably external) storage twice the capacity of the partition that you intend to clone
-
macOS High Sierra or higher (because Homebrew does not officially support anything below that)
-
The latest Homebrew package manager
-
A live disk image of the operating system you are running on the physical drive
Initial Setup⌗
Presuming you have the Homebrew package manager, we will install QEMU and VirtualBox (even though I will be using VMWare Fusion later because of VirtualBox VRAM limits), so to fetch those packages
$ brew install qemu coreutils
$ brew cask install virtuabox
Performing our physical-to-virtual partition conversion⌗
Alright, now we have the tools, now let’s first convert make an image of the partition on our external volume
We need sudo here because we are attempting to seek read permissions from /dev/driveXsY

Replace X and Y with the respective drive numbers
Replace EXTERN with the name of your external volume

$ sudo gdd if=/dev/diskXsY of=/Volumes/EXTERN/disk0.img status=progress
Done? Now, you should verify the integrity of the disk by attempting to checksum match the original partition with our new image
Replace X and Y with the respective drive numbers
Replace EXTERN with the name of your external volume

$ sha256sum /dev/diskXsY
b94d27b9934d3e08a52e52d7da7dabfac484efe37a5380ee9088f7ace2efcde9

$ sha256sum /Volumes/EXTERN/disk0.img
b94d27b9934d3e08a52e52d7da7dabfac484efe37a5380ee9088f7ace2efcde9

They're the same, :)
Converting our clone into a virtual drive⌗
Confident we have exactly the same thing? Now let’s get rid of that partition on our internal volume so we can accommodate the new drive. I just used Disk Utility for that.
With that done, now let’s convert our image into a vmdk file that VMWare Fusion can use
NOTE: I am performing this step on the external volume, if you’re satisfied with a monolithic disk image, then you can just write it to the internal volume directly
$ qemu-img convert -O vmdk /Volumes/EXTERN/disk0.img /Volumes/EXTERN/disk0.vmdk
Splitting our monolithic virtual drive⌗
If you don’t plan on using VMWare Fusion (maybe something like VirtualBox, which requires VMDK files to not exceed 2GB) or you prefer split disk images, then you can convert them to a split image
Replace INTERNALDRV with the name of your internal volume

$ VBoxManage clonemedium /Volumes/EXTERN/disk0.vmdk /Volumes/INTERNALDRV/disk0.vmdk --format VMDK --variant Split2G
Making the virtual machine boot⌗
NOTE: These step is not necessary if you have imaged the entire drive (and therefore all its partitions and volumes) or if you image the EFI partition using the steps above
With our files ready, now we a system drive that won’t boot.
Why? Because the EFI is housed elsewhere (and I can’t image the EFI partition because I changed my bootloader), so we will have to repair that.
Before we do that, we must create a new virtual disk of a gigabyte and boot the VM with both drives. I have made my boot virtual drive NVME and my system drive SATA so I can recognise it easily.
Now, within the live disk, partition our new virtual drive to be a giant FAT32 EFI partition (i.e. with boot and esp flags) using GParted. You may need to initialise a new partition table, if you need to, then select GPT.
We can safely presume that our new boot partition is now /dev/nvme0n1p1 and our system volume is /dev/sda (not /dev/sda1 because there is no partition table on our system drive at all because we only imaged a singular partition)
Let’s start by installing the GRUB bootloader
We need to gain access as root of our system drive, so let's set up the needed tools

$ sudo pacman -Sy arch-install-scripts

Go to "File Explorer", open our newfangled system volume and copy its UUID and paste it in place of our dummy UUID

$ sudo arch-chroot /run/media/manjaro/DUMMYUUID-UUID-0000-0000-3e2f0b6fcfd9/

We are now in chroot (and therefore, acting as root within our system drive)

# mount /dev/nvme0n1p1 /boot/efi

We install the GRUB bootloader

# grub-install --target=x86_64-efi --efi-directory=/boot/efi --bootloader-id=GRUB
We’re not done yet, the bootloader is installed but the UUID of our EFI partition is different from what the physical EFI partition originally had, grab the new UUID (not PARTUUID, simply UUID) and replace UUID value for /boot/efi in /etc/fstab
# blkid
/dev/nvme0n1p1: UUID="UUID-0000" BLOCK_SIZE="512" TYPE="vfat" PARTUUID="DUMMYUUID-UUID-0000-0000-06045437bb06"

# nano /etc/fstab
We’re done! 🎉 (I mean, I could barely game, but yay?) EDIT: Fixed by going to VMWare Fusion > Preferences > Gaming > Always optimise mouse for games and then increasing mouse sensitivity within Manjaro
Shrinking the virtual disk image⌗
Edit (18th June): The conversion of the raw DD image to a virtual disk image reduced the image size from 500GB to ~300GB but because I was running short of storage real estate, here is a way of reducing it even further
Unfortunately, one of the downsides of the method I used is that I cannot do any partitioning on my virtual disk because there is no partition table to speak of.
The solution? (at least if you are using a VMWare product and have already installed open-vm-tools) is asking VMWare to figure it out for you.
(Source: How to reduce the size of VMware disk - SuperUser StackExchange)
Defragment the drive first

$ sudo e4defrag /

Zero out all the unused space (to mark it as unused)

$ dd if=/dev/zero of=wipefile bs=1M; sync; rm wipefile

Request VMWare to shrink all the disks associated with the VM

$ sudo vmware-toolbox-cmd disk shrinkonly